To create email accounts in the Webuzo Control Panel, follow these steps:
Table of Contents
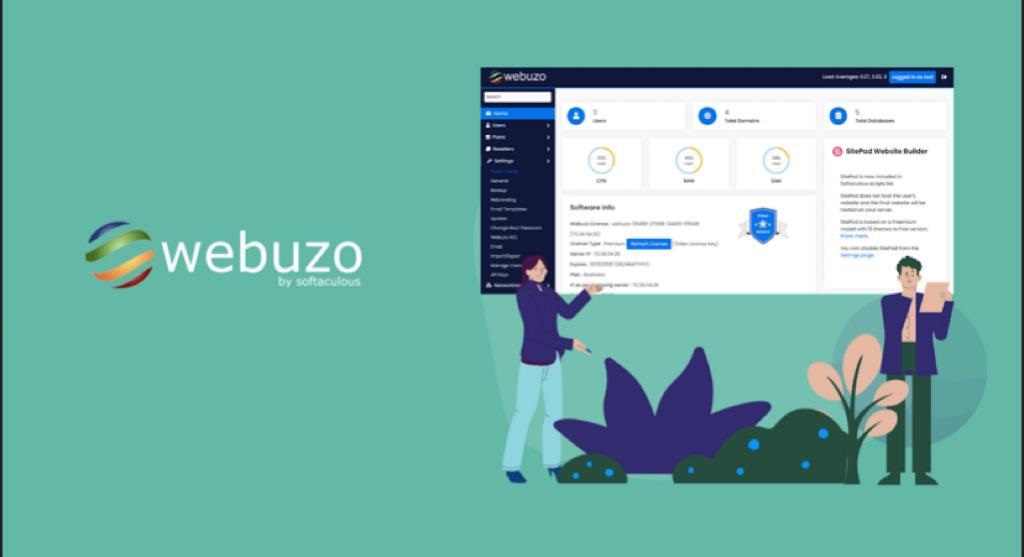
1. Log in to Webuzo Control Panel
- Open your browser and navigate to the URL of your hosting Webuzo control panel
- Log in with your admin credentials.

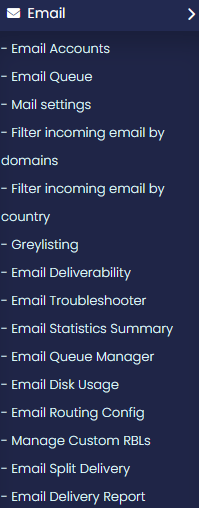
2. Access the Email Management Section
- After logging in, you should see the Webuzo dashboard.
- Look for the Email section, which might be labeled as Email Accounts, Email Manager, or simply Mail (the exact wording may vary depending on your Webuzo version).
- Click on Email Accounts or a similar option.
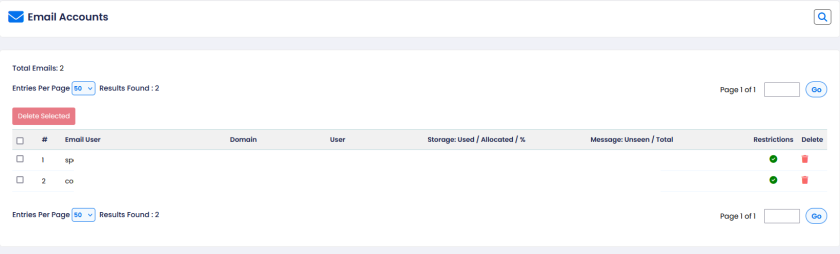
3. Create a New Email Account
- In the Email Management section, look for a button or option like Create Email Account or Add New Account.
- Click on it to start the account creation process.
4. Fill in the Email Account Details
- Domain: Select the domain under which the email account will be created (you may have more than one domain, depending on your setup).
- Email Address: Enter the desired email username. For example, if you want the email to be
info@yourdomain.com, you would just type “info” in the username field. - Password: Enter a secure password for the email account.
- Mailbox Quota: Set the storage quota for the mailbox, which determines how much space the email account can use.
- Other Options: Some Webuzo setups may allow you to configure additional options, such as enabling/disabling webmail access, autoresponders, or spam filtering.
5. Create the Account
- After filling in the required details, click the Create button or whatever action is necessary to create the email account.
- Webuzo should now create the email account.
6. Accessing the Email Account
- Once the email account is created, you can usually access it via webmail, which Webuzo typically supports with applications like Roundcube or Horde.
- To access webmail, go to your domain’s webmail login page (for example,
http://yourdomain.com:2095orhttp://yourdomain.com/webmail), and log in using the email address and password you just created.
7. Managing the Email Account
- From the Webuzo control panel, you can also manage the account, such as changing the password, increasing or decreasing the mailbox quota, or setting up forwarding, etc.
These are the general steps to create and manage email accounts in Webuzo. Keep in mind that the exact wording or location of some options might differ slightly depending on your version of Webuzo, but the core functionality remains consistent.